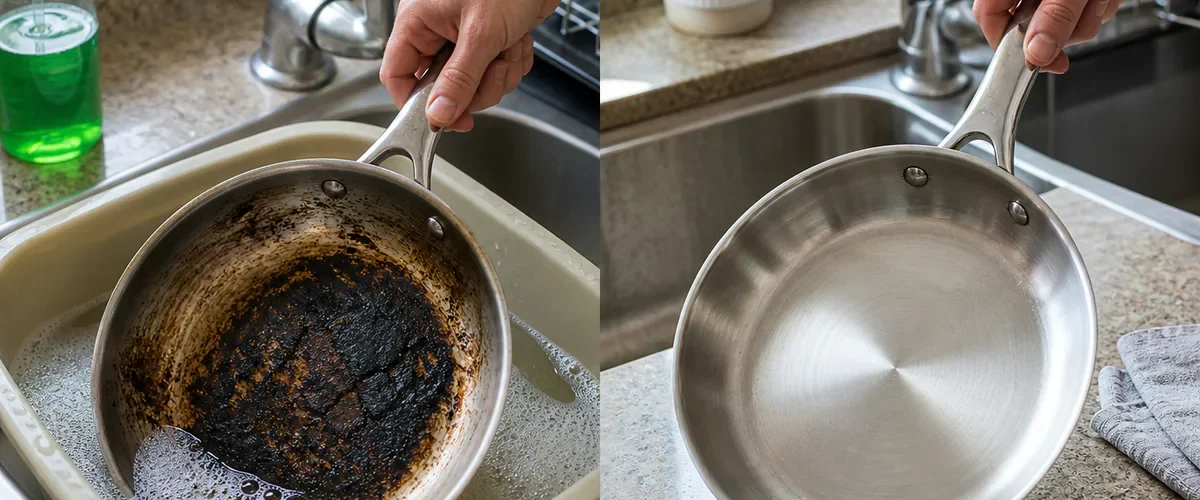
The rice stuck first. Then a black crust spread across the bottom while the phone rang in another room. By the time the burner was switched off, the pan looked finished. Scrubbing only made the sponge dark, and every hard stroke seemed likely to scratch the surface.
A burned pan often needs time more than force. The right burned pan cleaning method softens cooked-on food so a safe tool can lift it. The surprising result begins with one important question: what is the pan made from?
Let the Pan Cool Before You Rescue It
Move the pan off the burner if it is safe to do so, turn off the heat, and let everything cool. Do not pour cold water into very hot cookware. Sudden temperature change can warp metal, crack enamel, or create violent steam.
Open a window if the kitchen is smoky. If oil caught fire, never carry the burning pan or pour water on it. Turn off the heat if you can safely reach it, cover the pan with a metal lid or baking sheet, leave the area if the fire grows, and call emergency services.
Read the Bottom Before Choosing a Cleaner
Look for a maker’s mark and care instructions. Nonstick coating, stainless steel, seasoned cast iron, carbon steel, aluminum, copper, and enameled cast iron do not tolerate the same treatment. A rough pad that is useful for restoring rusty bare cast iron can ruin nonstick coating.
If a nonstick surface is peeling, deeply scratched, blistered, or flaking, cleaning cannot restore it. Follow the manufacturer’s replacement advice rather than cooking on a damaged coating.
The Gentle Soak That Lifts Most Burned Food
- When the pan is cool, remove loose food with a wooden, silicone, or plastic utensil.
- Cover the burned area with warm water and add a small amount of dishwashing liquid.
- Let it soak for at least one hour. A severe mess may need several hours.
- Use a nonabrasive sponge and a pan-safe scraper to work from the edge of the softened layer.
- Rinse, inspect, and repeat instead of pressing harder.
Nonstick manufacturers commonly recommend this warm soapy soak after food burns. It looks almost too simple, but detergent loosens grease while water slowly reaches the dry layer underneath.
When a Short Simmer Can Help
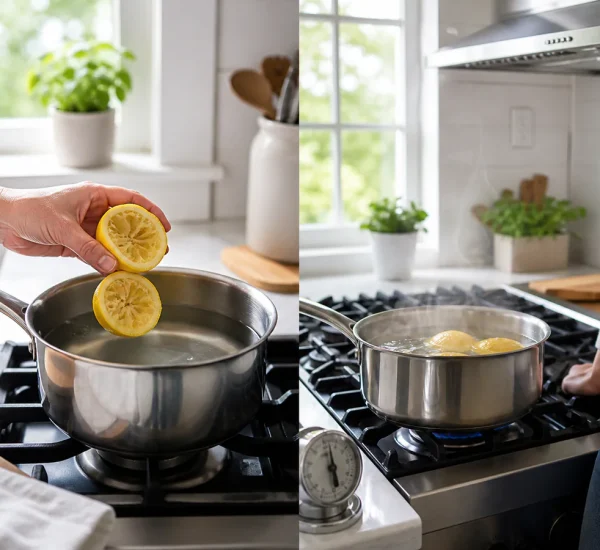
For stainless steel, enameled cast iron, or seasoned carbon steel, the manufacturer’s directions may allow a small amount of water to simmer for several minutes. Heating water inside the pan softens residue evenly. Turn off the burner, allow the pan to cool, then use an approved scraper.
Do not leave the simmer unattended. Do not boil a dry pan, and never combine heat with bleach, oven cleaner, or an unknown chemical. Confirm that handles and lids are rated for the heat being used.
Baking Soda Is Material-Specific, Not Universal
Some makers of enameled cookware recommend boiling a measured baking-soda solution for stubborn food. Other finishes may dull, scratch, or lose seasoning when treated aggressively. Follow the instructions for your exact pan instead of copying a recipe designed for another material.
Special Rules for Cast Iron
Do not leave seasoned cast iron soaking for hours because it can rust. Lodge recommends warm soapy water, a brush or pan scraper, complete drying, and a very thin coat of oil. For stuck food, a little water can be simmered briefly before scraping after the pan cools.
If heavy scrubbing removes seasoning or the pan becomes rusty, wash, dry, and reseason it according to the manufacturer. A dull patch is repairable; moisture left in storage brings the rust back.
Five Mistakes That Make the Damage Worse
- Using steel wool on nonstick or enamel: it can scratch or destroy the finish.
- Scraping with a knife: the blade can slip and score the cooking surface.
- Mixing cleaners: bleach, acids, ammonia, and oven products can create dangerous fumes.
- Heating an empty pan on high: this can warp cookware and weaken coatings.
- Chasing every stain: harmless discoloration is not the same as stuck food or coating failure.
Prevent the Next Black Layer
Match the burner to the pan base and use low to medium heat unless the recipe requires more. Add liquid before sugary sauces reduce too far. Set a timer, keep utensils ready, and do not walk away during the last minutes of cooking.
Use enough oil for the recipe and add food only when the cookware reaches the recommended temperature. Gradual heating reduces hot spots. Cleaning shortly after the cooled pan is empty also stops a thin film from becoming the next stubborn layer.
The burned pan looked ruined until a gentle soak lifted the crust from the edges. That result is real, but the method changes with the material. Cool first, read the care guide, soften the food, and let a safe scraper do the final work.